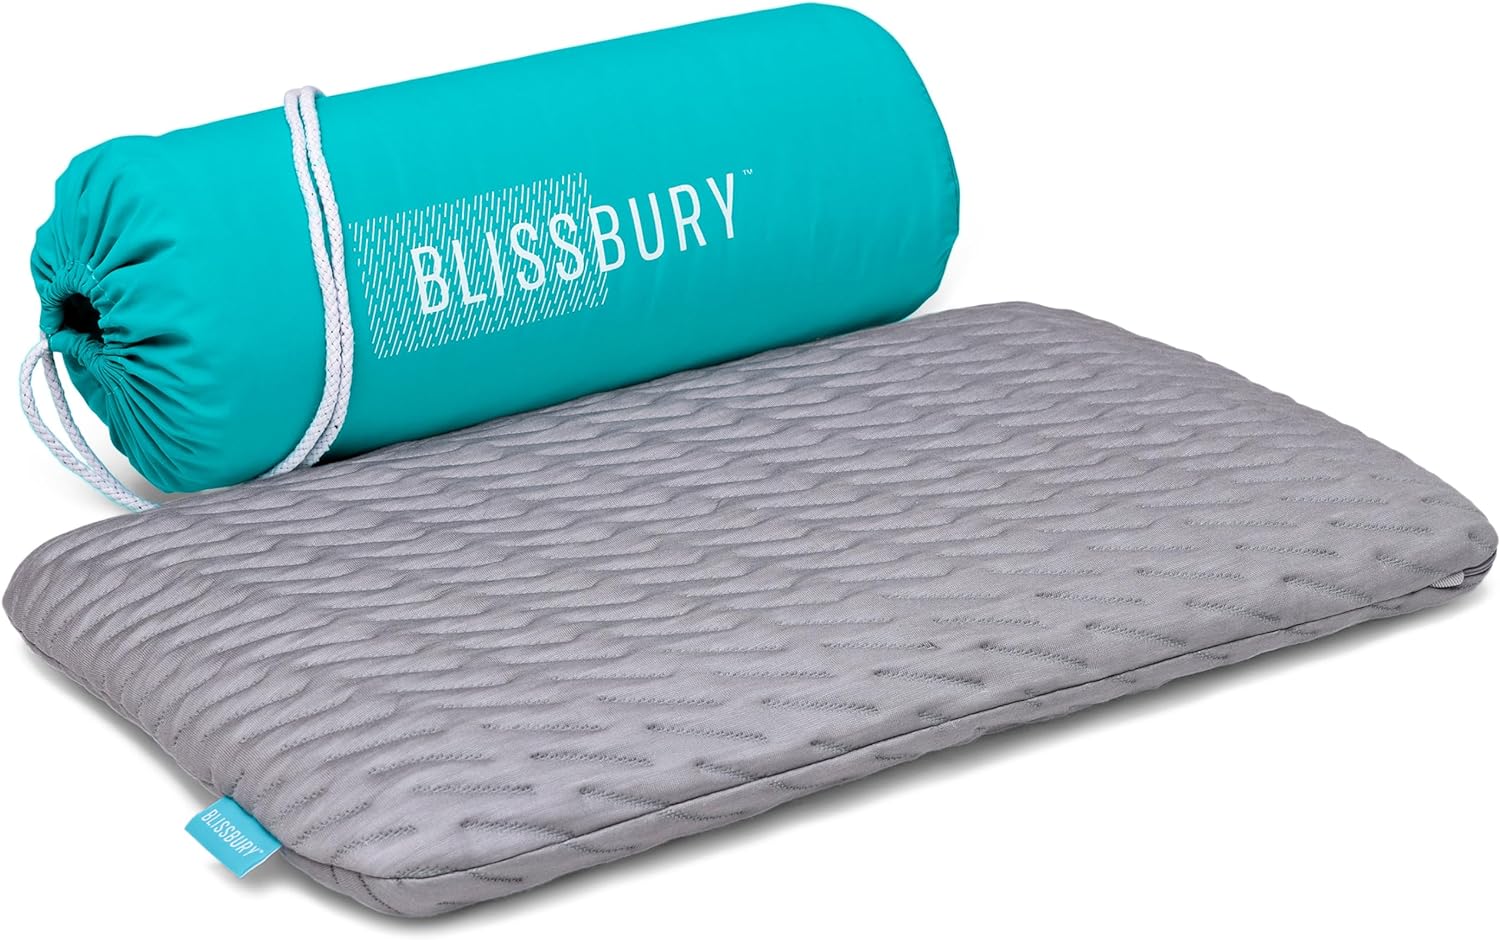
In this article, we will explore the creative and practical art of making your own DIY pillows from old clothing and textiles. Discover how you can breathe new life into sentimental garments or give outdated fabrics a fresh purpose by transforming them into unique and personalized pillows. With a few simple steps, some basic sewing skills, and a touch of creativity, you can create cozy and stylish accents for your home that tell a story and reflect your individuality. So grab those old shirts, dresses, or blankets and let’s turn them into beautiful pillows that will add charm and character to any space. Get ready to embark on a fun and rewarding journey of upcycling!
Review contents
Choosing the Right Clothing and Textiles
When it comes to making DIY pillows, one of the first things you need to consider is the choice of clothing and textiles. The materials you choose will not only affect the overall look and feel of the pillow but also its durability and comfort.
Determining the Suitable Materials
To determine the suitable materials for your DIY pillows, start by considering the purpose of the pillows. Are they meant to be decorative or functional? If you’re creating decorative pillows, you can use a wide range of materials, including cotton, silk, linen, or even upholstery fabric. On the other hand, if you’re making pillows for everyday use, it’s best to opt for more durable and washable materials like denim or canvas.
Inspecting for Wear and Tear
Before selecting clothing or textiles for your DIY pillows, make sure to inspect them for any signs of wear and tear. Check for holes, frayed edges, or stains that might impact the final appearance of the pillow. It’s important to choose items that are in good condition and will withstand the sewing process.
Considering Pattern and Design
The pattern and design of the clothing and textiles you choose will greatly influence the overall aesthetic of your DIY pillows. Consider whether you want to make pillows that are bold and eye-catching or ones that have a more subtle and understated look. Take into account the existing colors and patterns in the room where the pillows will be placed, and select materials that will complement the overall decor.
Opting for Natural Fibers
When possible, it’s best to opt for natural fiber materials like cotton, linen, or silk. Natural fibers are breathable, hypoallergenic, and often more comfortable to use. They also tend to be more environmentally friendly since they are biodegradable and can be easily recycled.
Preparing the Clothing and Textiles
Before you begin the construction process, it’s important to properly prepare the clothing and textiles you’ve chosen for your DIY pillows. This involves washing, drying, and removing any buttons, zippers, or embellishments that may interfere with the sewing process.
Washing and Drying
Start by washing the clothing or textiles according to their specific care instructions. This will help ensure that any dirt or stains are removed, and the fabric is clean and ready for use. Once washed, dry the materials thoroughly, either by air-drying or using a dryer. Ensure they are completely dry before moving on to the next step.
Removing Buttons, Zippers, and Embellishments
To make the sewing process easier and to avoid damaging your sewing machine, it’s best to remove any buttons, zippers, or other embellishments from the clothing or textiles. You can do this by carefully cutting them off using sharp scissors or using a seam ripper to remove stitches holding them in place. By removing these elements, you’ll have a smooth surface to work with when constructing your pillows.
Ironing and Pressing
Once the clothing or textiles are clean and free of any buttons or zippers, take the time to iron or press them. This step will help eliminate any wrinkles or creases that may affect the final appearance of your pillows. Ironing or pressing the fabric also makes it easier to measure and cut accurately, ensuring that your pillows turn out neat and professional-looking.
Measuring and Cutting
Before you can start sewing your DIY pillows, it’s crucial to measure and cut the fabric accurately. Taking the time to measure correctly and ensuring consistent measurements will result in well-fitting and symmetrical pillows.
Measuring the Desired Pillow Size
Decide on the size of the pillows you want to create and measure the dimensions accordingly. It’s helpful to use a tape measure or ruler to ensure precise measurements. Consider the purpose of the pillows and the available space where they will be used when determining the size.
Creating a Pattern
Once you have the measurements, create a pattern for your pillow. Using a large piece of paper or cardboard, draw a rectangle or square according to the dimensions you’ve measured. This pattern will serve as a guide when cutting the fabric.
Ensuring Consistent Measurements
When measuring and cutting the fabric, it’s important to ensure consistent measurements throughout the process. Double-check your measurements before cutting and use a fabric marker or chalk to mark the dimensions on the fabric to guide your cuts. Taking care with precise measurements will result in pillows that fit perfectly and look professional.
Cutting the Fabric
With the pattern in hand and the fabric measurements marked, carefully cut the fabric according to the dimensions you’ve determined. Use fabric scissors or a rotary cutter for clean and accurate cuts. Pay attention to any patterns or designs on the fabric and align them as desired before cutting.
Choosing the Pillow Filling
The choice of pillow filling greatly affects the comfort and appearance of your DIY pillows. Consider the different types of pillow stuffing materials and select the one that best suits your needs and preferences.
Traditional Pillow Stuffing Materials
Traditional pillow stuffing materials like polyester fiberfill or foam are readily available and provide a plush and supportive feel. These materials are hypoallergenic, durable, and retain their shape well. However, they may not be the most eco-friendly option.
Recycled Materials as Filling
If you’re looking for a more sustainable option, consider using recycled materials as pillow filling. Old clothes, towels, or blankets can be repurposed by cutting them into small pieces and stuffing them inside the pillows. This not only reduces waste but also adds a unique and personal touch to your pillows.
Selecting Alternative Combinations
You can also experiment with alternative combinations of pillow stuffing materials to achieve the desired level of comfort. For instance, mixing traditional pillow stuffing with recycled materials can provide a balance between softness and sustainability. Play around with different combinations until you find the right one for your pillows.
Considering Allergies and Personal Preferences
When choosing pillow filling materials, it’s important to consider any allergies or personal preferences you or your intended recipients may have. Some people may be sensitive to certain materials, such as feathers or synthetic fibers. Take this into account and opt for hypoallergenic or natural materials if needed.
Sewing Techniques
Once you have your fabric pieces cut and the filling ready, it’s time to sew your DIY pillows together. There are different sewing techniques you can use, depending on your skill level and the desired look of your pillows.
Using a Sewing Machine
If you have access to a sewing machine, it can greatly speed up the construction process and provide neat and professional-looking seams. Use a straight stitch or a zigzag stitch, depending on the type of fabric you’re working with. Practice on scrap fabric before sewing your pillows to get a feel for the machine’s settings and to ensure the stitches are secure and even.
Hand-Sewing the Pillow
If you don’t have a sewing machine or prefer a more rustic and handmade look, you can sew the pillows by hand. Use a strong needle and thread, and make sure to secure your stitches tightly. Hand-sewing gives you more control over the process and allows for more intricate and decorative stitching if desired.
Adding Decorative Elements
Once you have the basic pillow shape sewn, you can add decorative elements to enhance the overall look. Consider adding embellishments like buttons, beads, or embroidery to make your pillows truly unique and personalized. These decorative elements can also help hide any imperfections or uneven stitches.
Constructing the Pillow
With the sewing complete, it’s time to construct the pillow by joining the fabric pieces together and stuffing them with the chosen filling.
Preparing Two Fabric Pieces
Take the two fabric pieces you’ve cut and ensure they are aligned properly. If you have a pattern on the fabric, make sure it’s facing inward so that it will be on the inside of the finished pillow. Pin the fabric pieces together to hold them in place before sewing.
Determining the Pillow Opening
Decide on the desired opening for your pillow. This can be at the center of one side, along one edge, or even an envelope-style opening on the back. Mark the opening with a fabric marker or pin, ensuring it’s large enough to comfortably insert the stuffing.
Sewing the Pillow Edges Together
Using a sewing machine or hand-stitching, sew the edges of the fabric pieces together, leaving the marked opening open. If using a sewing machine, make sure to reinforce the stitches at the beginning and end to ensure the pillow doesn’t come apart during use.
Turning the Pillow Right Side Out
Carefully turn the pillow right side out through the opening you left. Use a turning tool or a chopstick to push out the corners and ensure the pillow is fully turned. Take the time to smooth out any wrinkles or creases on the fabric.
Stuffing the Pillow
Next, insert the chosen pillow filling through the opening until the pillow is plump and comfortable. Make sure to distribute the filling evenly and fluff it up as you go. Be mindful not to overstuff the pillow, as this can lead to a lumpy appearance.
Adding Closure
To complete your DIY pillows, you’ll need to add a closure to keep the filling secure and maintain the desired shape.
Creating an Envelope Closure
An envelope closure is a simple and effective way to secure the opening of your pillow. To create an envelope closure, fold the fabric from the opening inward and overlap the edges. Sew along the folded edges to secure the closure, making sure to reinforce the stitches at the beginning and end.
Sewing a Zippered Closure
For a more secure closure, you can opt for a zippered closure. Choose a zipper that matches the fabric and sew it along the edges of the opening, ensuring it is securely attached to both sides. Zippered closures provide easy access to the filling and make it simple to remove it for cleaning or replacement.
Using Buttons or Snaps
Buttons or snaps can also be used to add a closure to your pillows. Sew the buttons or snaps to one side of the opening and create corresponding buttonholes or snap receivers on the other side. This closure option adds a decorative element and allows for easy removal of the filling when needed.
Making a Velcro Closure
Velcro closures are another convenient option for securing the opening of your pillows. Sew one side of the Velcro to one side of the opening and the corresponding side of the Velcro to the other side. This closure allows for easy removal and ensures the pillow remains securely closed.
Finishing Touches
To give your DIY pillows a polished and professional look, consider adding some finishing touches.
Trimming Excess Threads
After completing the sewing and adding the closure, trim any excess threads from the pillow. Use sharp scissors to cut close to the fabric to create clean and neat edges. Removing excess threads will enhance the overall appearance of your pillows.
Steam Pressing the Pillow
Once the pillows are fully constructed and trimmed, steam press them to give them a smooth and finished look. Use a steam iron to gently press the fabric, taking care not to apply too much heat that may damage or melt the filling inside. Steam pressing helps smooth out any wrinkles or creases and gives the pillows a professional touch.
Embellishing with Appliques or Embroidery
If you want to take your DIY pillows to the next level, consider embellishing them with appliques or embroidery. These decorative elements can add a personalized touch and make your pillows stand out. Use fabric glue or sew the appliques in place, or use embroidery stitches to create intricate designs.
Adding Piping or Trim
To add a decorative edge to your pillows, consider adding piping or trim. Piping is a fabric-covered cord that is sewn along the edges of the pillow, creating a tailored and finished look. Alternatively, you can use decorative trims like lace or ribbon to enhance the overall design of the pillows. Sew the piping or trim in place carefully, ensuring it is securely attached.
Cleaning and Maintenance
Once your DIY pillows are complete, it’s important to know how to clean and maintain them to keep them looking their best.
Regularly Fluffing and Shaking
To maintain the shape and loft of your pillows, regularly fluff and shake them. Gently hitting the pillows against a solid surface can help redistribute the filling and plump up the pillows. This will prevent them from becoming flat and lifeless over time.
Spot Cleaning Stains
Inevitably, pillows may encounter stains or spills. In these cases, it’s best to spot clean the affected area rather than wash the entire pillow. Use a mild detergent or stain remover and a clean cloth to gently blot the stain, being careful not to saturate the fabric. Allow the pillow to air dry completely before using it again.
Washing and Drying Instructions
If your DIY pillows require a full cleaning, refer to the care instructions for the specific fabric and filling materials used. Some pillows may be machine washable, while others may need to be hand-washed or dry-cleaned. Always follow the manufacturer’s recommendations to avoid damaging the fabric or causing the filling to clump.
Repurposing Ideas for Extra Clothing and Textiles
If you have extra clothing and textiles lying around, consider repurposing them into unique and stylish pillows.
Turning Old Shirts into Pillow Covers
Old shirts can be transformed into pillow covers by cutting them to the desired dimensions and sewing the edges. Utilize the front or back of the shirt, or even cut out interesting sections like pockets or buttons to add extra visual interest. This repurposing idea allows you to preserve memories or display your favorite shirts in a new and functional way.
Transforming Jeans into Decorative Pillows
Don’t throw away those old jeans! Instead, cut them into squares or rectangles and turn them into decorative pillows. Use the existing seams and details like pockets or belt loops to add texture and character to the pillows. Denim is a durable and versatile fabric that adds a touch of ruggedness to any space.
Using Bed Sheets for Pillowcases
If you have extra bed sheets that no longer serve their original purpose, repurpose them into pillowcases. Bed sheets come in various colors and patterns, allowing you to easily coordinate them with your existing decor. They are also typically made from soft and comfortable materials, making them perfect for creating cozy pillows.
Creating Patchwork Pillows
If you have a collection of fabric scraps or old clothing with sentimental value, consider creating patchwork pillows. Mix and match different fabrics to create unique and visually pleasing pillow designs. Patchwork pillows add a touch of nostalgia and showcase your creativity.
By following these steps and exploring various repurposing ideas, you can breathe new life into old clothing and textiles and create one-of-a-kind DIY pillows. Whether you’re making decorative pillows for your living room or cozy pillows for your bedroom, the possibilities are endless. Have fun with the process, and enjoy the sense of accomplishment that comes from creating something beautiful and functional out of materials you already have. Happy pillow-making!


